前言
YDLIDAR G4采用自主研发的可正、逆向360°旋转测距模块,工作时,G4可适应各种方位的场景,无需重新调试,可快速获取周边轮廓实现建图。
本篇文章主要介绍了怎么在ROS2上使用,自己配置的时候记得关注工作空间的名字。
置于如何在ROS1上使用,所用的命令都是差不多的,不同之处便是编译功能包时,ros1编译命令为 catkin_make;ros2编译命令为colcon build。
雷达官网:YDLIDAR G4_ydlidar|机器人激光雷达领导品牌
git官网:Shenzhen Yuedeng Technology Co.,Ltd.

配置环境
SDK编译与安装
下载SDK:YDLIDAR/YDLidar-SDK: Driver for receiving YD LiDAR data and more... (github.com)
并解压,可用wget https://github.com/YDLIDAR/YDLidar-SDK/archive/refs/heads/master.zip命令下载,并使用unizp master.zip命令解压。
进入到解压后的文件中去,并新建一个文件build并进入
cd YDLidar-SDK-master/
mkdir build
cd build
并执行以下命令:
cmake ..
make
sudo make install
ROS环境的安装与配置
先运行以下命令来创建环境
mkdir -p ~/bot_ws/src
cd ~/bot_ws/
colcon build --symlink-install
echo "source ~/bot_ws/install/local_setup.sh" >> ~/.bashrc
随后寻找合适的ROS
ROS1:YDLIDAR/ydlidar_ros_driver: ydlidar driver package under ros (github.com)
ROS2:YDLIDAR/ydlidar_ros2_driver: ydlidar driver package under ros2 (github.com)
humble:YDLIDAR/ydlidar_ros2_driver at humble (github.com)
我这使用的是humble
进入到src中,并将下载下来的ROS功能包放在该目录底下,以下以我是humble为例:
cd ~/bot_ws/src
wget https://github.com/YDLIDAR/ydlidar_ros2_driver.git
回到工作目录底下,编译功能包:
cd ~/bot_ws
colcon build
添加环境:
echo "source ~/bot_ws/install/setup.bash" >> ~/.bashrc
使用雷达
插入LD雷达并依次输入以下命令:
更改权限,如果报错可切换成root用户试试。
chmod 777 src/ydlidar_ros2_driver-humble/startup/*
sudo sh src/ydlidar_ros2_driver-humble/startup/initenv.sh
sudo chmod 777 /dev/ttyUSB0
验证:新开一个终端、输入命令行(每个版本的使用命令不一样):
以bumble为例:
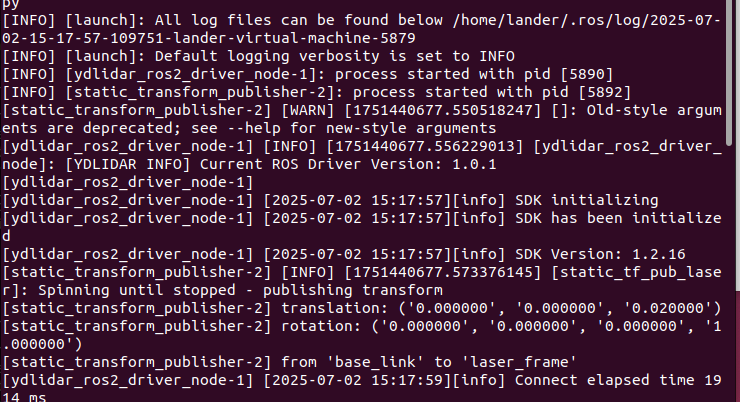
ros2 launch ydlidar_ros2_driver ydlidar_launch.py
使用该命令后,激光雷达开始工作。
总结
本篇文章介绍了YDlidar雷达在ROS2上的部署,如何具体使用会在后续文章中更新。